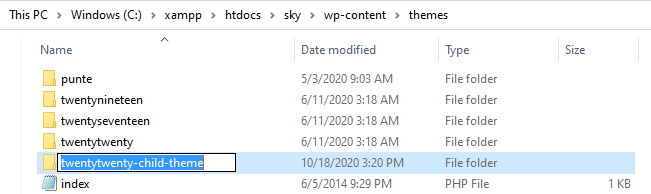
Step 1: Create theme folder
Go to your WordPress installation and go to wp-content/themes. Create a new folder for the child theme. Give folder name whatever you want. For example twentytwenty-child-theme.
Step 2: Create style.css file
Create a new file in the child theme folder and paste this code:
/*

 Theme Name:   Twentytwenty child theme

 Theme URI:    add theme URL

 Description:  add theme desc

 Author:       add author-name

 Author URI:   add your company website URL

 Template:     twentytwenty

 Version:      1.0.0

*/

    @import url("../twentytwenty/style.css");
In Template write parent theme name. Now save this file as style.css
Step 3: Activate child-theme
Now you can go to WordPress admin panel there you can see Appearance go to Appearance -> theme. you will see twentytwenty child theme. Click on the active button and see that everything working fine or not.

For customizing your child theme open file style.css which we created before. add CSS in file save and preview your website.
Step 4: Set thumbnail image for the child theme
Take a screenshot of your theme and name it screenshot.png or screenshot.jpg and place your image file in the child theme’s folder.
Comments
Post a Comment